


Here’s the crux of the article in video form:
The allure of exploring cutting-edge features in beta versions often fades when the desire for stability takes precedence. In this guide, I’ll navigate the process of gracefully stepping back (opt out) from Android QPR beta updates and transitioning seamlessly to a stable build. Understanding the intricacies of this transition is key to preserving your data while enjoying the reliability of the latest public release.
Steps and things to consider before opting out of beta
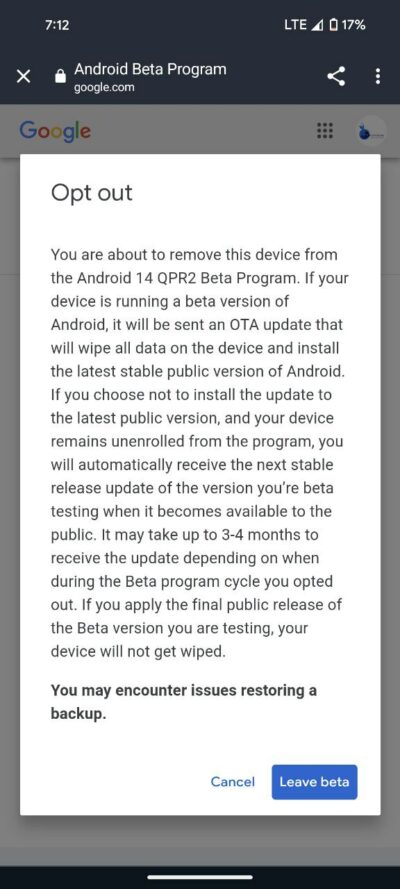
Before delving into the step-by-step process, it’s crucial to understand the implications of opting out of the Android Beta Program. When your device is running a beta version, an OTA update will be sent to wipe all data and install the latest stable public version of Android. Failure to install this update, while remaining unenrolled, means automatic reception of the next stable release update, which could take 3-4 months, depending on when you opt out. If you apply the final public release of the beta version you are testing, your device will not be wiped.
Now here are steps to opt out of Android QPR beta updates
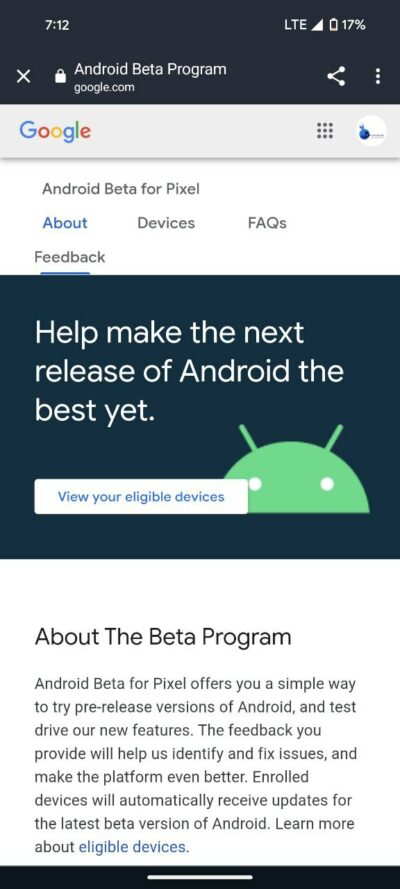
- Visit the Android Beta page: Head to the Android Beta page on your browser to begin the process.
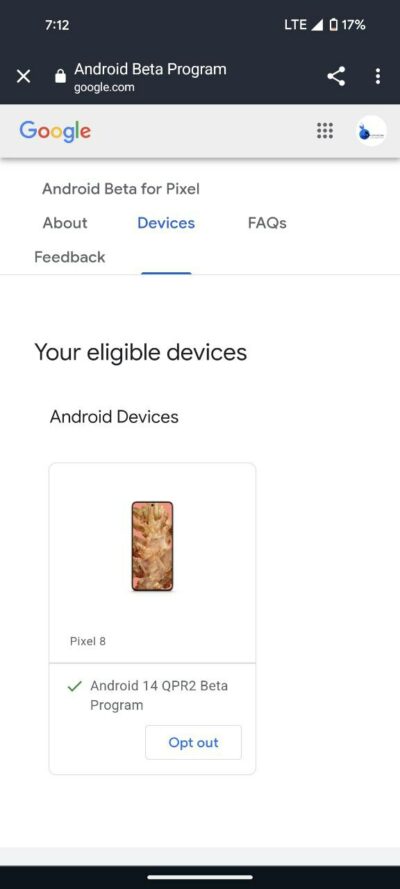
- Locate your device: Scroll down to find your Android device listed, and click on it.
- Select ‘Opt out’: Look for the ‘Opt out’ option and click on it.
- Confirm your decision: A pop-up window will appear. Confirm your decision to leave the beta by selecting ‘Leave beta.’
By following these steps, you are signaling your exit from the beta program, paving the way for a return to the stable Android version. While I’m demonstrating these steps using Android 14, they’re equally applicable to other Android versions.
Installing Android 14 stable using the assisted method
Now that you’ve opted out of the beta, you may be eager to embrace the latest stable build. Here’s a detailed guide on installing it using the assisted method:
- Ensure proper drivers: Before anything else, make sure your computer has the necessary drivers for your phone. Visit Google’s Pixel drivers page to download and install them. This step is crucial for the flashing process to work seamlessly.
- Connect your phone: Plug your phone into your computer using the USB cable. Establishing a secure connection is vital for the subsequent steps.
- Enable Developer options: In your phone’s Settings, navigate to System > Developer options. If not visible, go to Settings > About phone and tap the Build number seven times until you unlock Developer options. Enable OEM unlocking and USB debugging within Developer options.
- Visit Android Flash Tool page: Open your browser and go to the Android Flash Tool page designed for installing Android 14.
- Select Android 14 version: Choose the version of Android 14 you want to install. Some models have a 64-bit-only version, while others support both 64-bit and 32-bit software. If in doubt, opt for the version labeled “(signed)” to ensure compatibility.
- Follow flashing tool instructions: The flashing tool will guide you through the installation process. Follow the on-screen instructions diligently, and refrain from touching your phone unless explicitly instructed by the flashing tool.
Once the process is complete, you should have Android 14 successfully installed on your Pixel smartphone. As I said earlier these steps can be performed for any Android version.

Karanjot Sidhu
1024 Posts
A computer science engineer who loves tech and won't stop talking about it. Here at Piunikaweb, I mostly cover Google Pixel deals and how-tos, though you may find me covering Pixel news as well sometimes. Apart from being a nerd, i love gaming and watching movies in my free time.