In today’s world, privacy has become a paramount concern. Google has recognized this need and introduced the Locked Folder feature in Google Photos. This feature allows users to safeguard their sensitive photos and videos by placing them in a folder protected by the device’s screen lock. In this comprehensive guide, I will walk you through the process of setting up and utilizing the Locked Folder in Google Photos, with a specific focus on the ability to save photos directly from the Pixel Camera.
Setting up the Locked Folder
Setting up the Locked Folder is a straightforward process, and the initial setup occurs when attempting to move photos and videos into this secure space. Follow these steps to establish your Locked Folder:
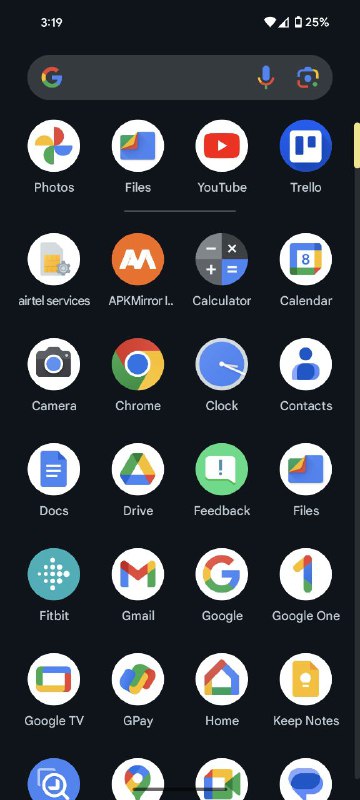
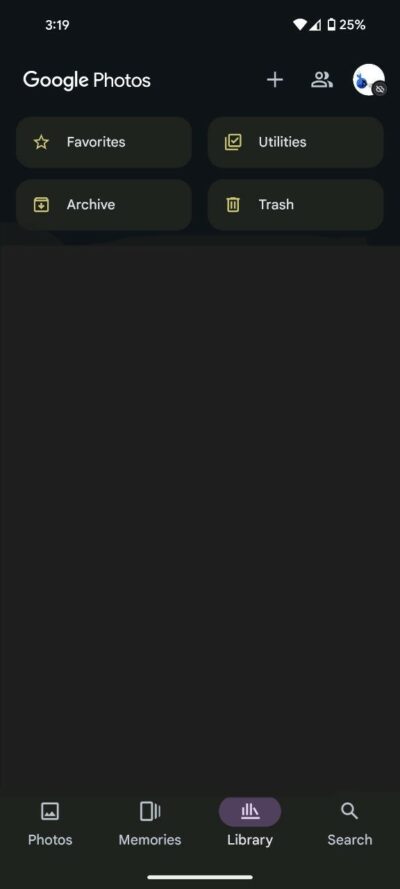
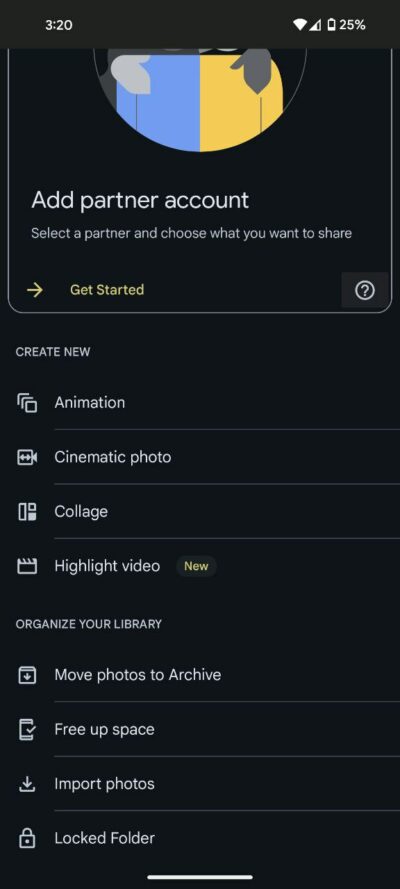
- Open the Google Photos app and navigate to the Library.
- Proceed to Utilities and select Locked Folder.
- Tap ‘Set up Locked Folder.’
- Follow the on-screen instructions to unlock your device. If the folder is empty, you will see a message stating, ‘Nothing here yet.’
- If your device lacks a screen lock, you will need to set one up at this point to utilize the Locked Folder.
It is essential to recognize that the password for your Locked Folder mirrors your device screen lock password, offering a seamless and unified security experience. You cannot designate a different password specifically for the Locked Folder.
Saving directly from Pixel Camera to Locked Folder in Google Photos
Before delving into the process of saving photos directly from the Pixel Camera to the Locked Folder, it is crucial to note two key prerequisites:
Android Version Requirement: Locked Folder is exclusively available on devices running Android version 6 and later. Ensure that your device meets this criterion to take advantage of this security feature.
Device Screen Lock: As an added layer of protection, access to the Locked Folder is tethered to the device screen lock. Those with access to the device screen lock can unlock the Locked Folder, emphasizing the importance of a secure screen lock setup.
- Open the Pixel Camera app on your device.
- Tap on the Gallery icon at the bottom left corner.
- Touch and hold the last image in the Gallery.
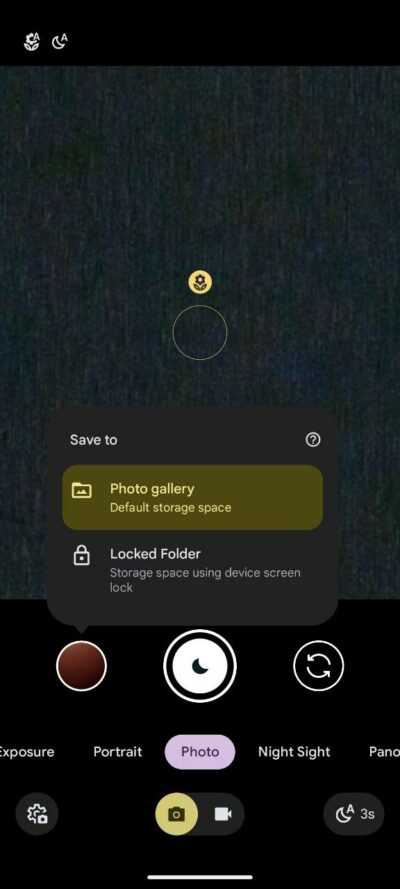
- Choose between saving the image to the Photo gallery or the Locked Folder.
- Capture your photo. Any photos taken with the Locked Folder activated are automatically stored within the secure confines of the Locked Folder.
For Pixel 7 and subsequent models, including the Pixel Fold, the process slightly differs:
- To the left of the shutter icon, perform a long press on the circle displaying the last photo taken.
- In the popup menu, select ‘Locked Folder.’
The integration of the Locked Folder feature directly into the Pixel Camera app exemplifies Google’s commitment to user-centric security. By reducing the number of steps required to safeguard sensitive photos, this feature not only enhances the user experience but also encourages individuals to take an active role in securing their digital assets.

Karanjot Sidhu
1024 Posts
A computer science engineer who loves tech and won't stop talking about it. Here at Piunikaweb, I mostly cover Google Pixel deals and how-tos, though you may find me covering Pixel news as well sometimes. Apart from being a nerd, i love gaming and watching movies in my free time.
Next article View Article