Backing up your photos has always been an uphill task because it takes great patience. But Google Photos offers smooth syncing that can facilitate your backup process to be completed in a short time.
While Google Photos allows the backup of photos to any device, many people inquire about the process of backing up photos on their computers.
The process of backing up photos on the computer differs slightly from the backing up on other devices.
Thats why in this article, we will be showcasing some of the easiest ways to back up Google Photos to your computer in just few clicks.
Back up using browser
Backing up photos through the browser is only feasible when you’re looking to download a small number of photos.
It doesn’t allow the selection of more than 500 photos for downloading. Follow the steps below to back up photos using your browser:
- Open the Google Photos application
- Select your desired photo or video
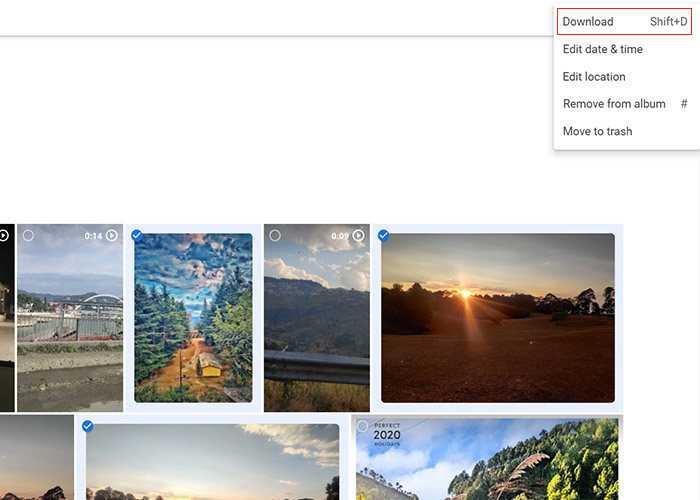
- Tap the more menu at the top right corner
- Click on the download option. If it isn’t appearing, it means that the file is already downloaded on your computer
- If you want to download more than one photo, checkmark the image you selected and click on the circle at the left of the other photos you want to download
- Click the download button once selected
Click/tap to enlarge images
Back up individual albums
Downloading albums is similar to downloading single and multiple photos. If you’re looking to download an album, follow the steps below:
- Open Google Photos
- Go to the albums section
- Click on the album you want to download
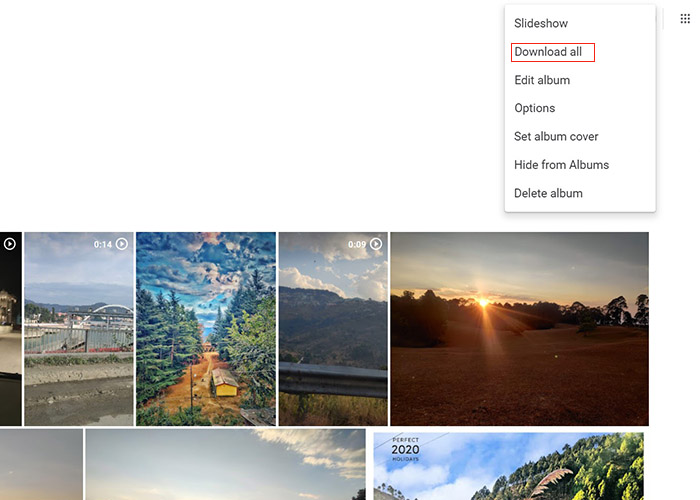
- Tap on the three dots at the top right and click the download all button
Click/tap to enlarge images
It is said that the download limit for individual albums is 2GB at a time and it is 500 pictures for single or multiple photos.
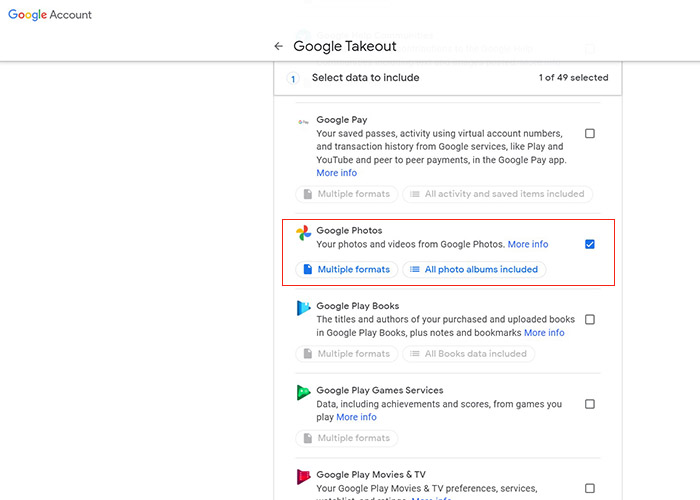
Back up using ‘Google Takeout’
Google Takeout is a messy option because it can result in the loss of metadata and disorganization. Follow these steps to download photos from Google Takeout:
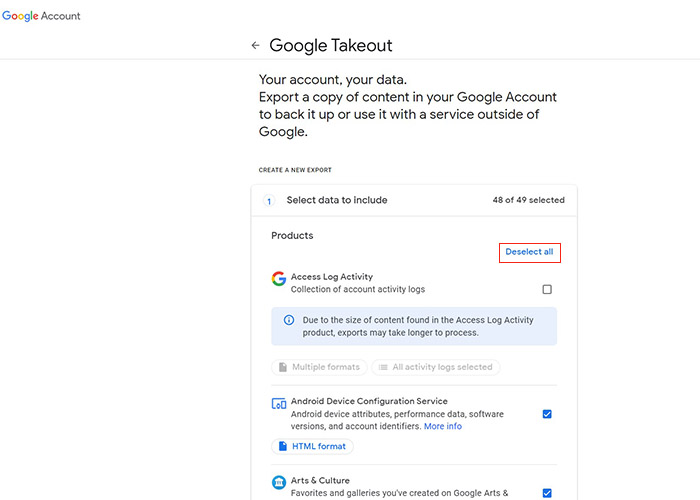
- Open Google Takeout
- Click the deselect all button
- Then check Google Photos
- Tap on the next step option at the bottom of the screen
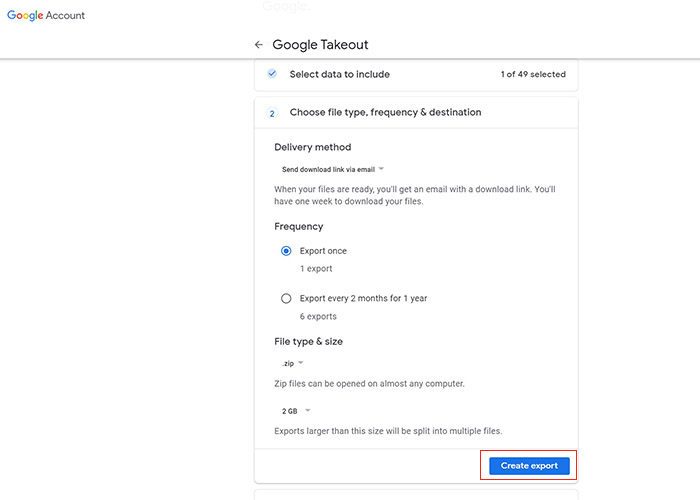
- Choose the file delivery medium and frequency
- Choose the file type and file size
- Click on the ‘create export’ button to complete the download
Click/tap to enlarge images
This concludes our guide on how to back up photos through Google Photos. Hope you found this guide helpful. You can check-out other such articles by heading here.
PiunikaWeb started as purely an investigative tech journalism website with main focus on ‘breaking’ or ‘exclusive’ news. In no time, our stories got picked up by the likes of Forbes, Foxnews, Gizmodo, TechCrunch, Engadget, The Verge, Macrumors, and many others. Want to know more about us? Head here.


Asif Sameer
74 Posts
I am a technophile, writer, YouTuber, and SEO analyst who is insane about tech and enjoys experimenting with numerous devices. An engineer by degree but a writer from the heart.
Next article View Article