to global (WW) version")
Taiwanese device maker Asus has been selling smartphones for years, but the company’s devices are not universally available like those from Samsung and Huawei, for instance.
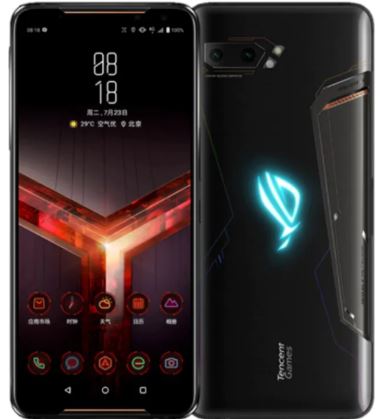
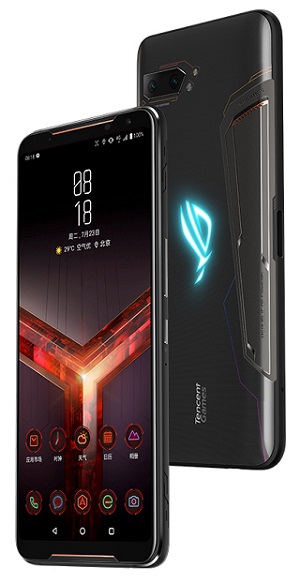
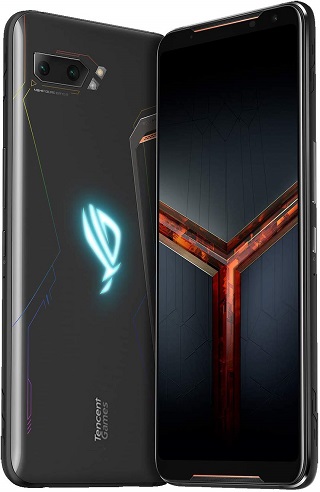
Case in point is its latest gaming smartphone – the Asus ROG Phone II. The handset has been around for several months now, but to date, only a handful of markets outside China have access to this device officially.
For the tech-savvy, the lack of local availability of the ROG Phone 2 has never been a case of concern. With the many online retailers that are willing to ship products to just about every corner of this world, getting hold of the ROG Phone 2 was never going to be a problem for avid mobile gamers.
But the problem with shipping region-specific devices to other regions is issues like this video recording error that popped up a while back may arise.
Apparently, those who were experiencing the video recording error had purchased the China-centric ROG Phone 2 model running global firmware. At the time, there was no known method of getting the global (WW) ROM installed on the China (CN) model, but today, we have one.
Note that everything might not work perfectly once you replace the China (CN) ROM on your ROG Phone II with the global (WW) firmware, so be sure that you really want this change. Below is a guide you need to rebrand the ROG Phone 2 from China to global model.
NOTE: To check your current fingerprint, download and install Device Info HW from the Play Store. Under ‘system’ you’ll find the current rom (CN or WW), the product id and fingerprint – they all need to match to be able to update your device later.
0) Download the ROG phone unlock tool and copy it on your phone and install it then run it. The phone will boot twice. DO NOT PRESS POWER TO STOP THE BOOT. It will wipe your data automatically. This will unlock your bootloader.
NOTE: this will void your warranty, if you had one, with Asus, even if you re-lock your bootloader later… (Although, having bought mine as an import from China, I’m think the warranty only stands with the seller – in my case, 1 year, not Asus – but i may be wrong)1) Download the WW International RAW rom from here.
2) Extract the file on your PC. Boot the phone into fastboot mode (hold volume up then press and hold power button, Fastboot mode is the 1st screen you come across, the one with the options to Start, boot to recovery, etc…) connect to the side port and run “flashall_AFT.cmd” wait for it to finish and the phone will restart itself (it will take a number of minutes to complete, with the cmd window open all the time. If the cmd window only flashes up and closes down, then check the rest of the notes with this step).
NOTE: you need to remove or delete the original zip from the raw folder once extracted as it confuses the Flashall_AFT.cmd with the raw rom and zip having the same name. Also, it can help to extract to the root of C drive.3) Download and install Minimal ADB and Fastboot app (windows). Install it on your PC to root of C drive.
4) Download the root&bootstockww191035.zip and extract it to the Minimal ADB and Fastboot Folder (C:\Program Files (x86)\Minimal ADB and Fastboot) from here.
5) Run Minimal ADB and Fastboot. Switch the phone into fastboot mode (hold volume up then press and hold power button) then type “fastboot flash boot rootww191035.img” without the quotes. Note that you can also check if your device is recognized in fastboot mode by the PC/laptop by running ‘fastboot devices’ cmd.
6) Reboot the phone and connect it to PC, copy and install Magisk and Root Explorer: Magisk Manager 7.4.0 and Root Explorer. Run Magisk (update if necessary) and grant access to Root Explorer (after opening Root Explorer you should be prompted by Magisk to gain root access, click ‘Allow’)
7) Open the Root Explorer app on you phone. Then from the app, select Mount R/W to R/O. Search for “/vendor/factory” folder and Edit the file content COUNTRY from CN to WW (in capital). Scroll to “/system/etc/AsusTheme/themes” then delete the hidden file to enable the hidden themes.
8) Restart the phone and that’s it.
Source
If you don’t want to root your ROG Phone II and probably re-lock the now-unlocked bootloader, follow the steps below:
1) Open Minimal ADB and Fastboot, switch your phone into fastboot mode, then connect to PC and type “fastboot flash boot boot.img” (the other img extracted from step 4)
– after flashing, you will need to wipe/reset and boot back to fastboot mode2) While on fastboot mode and ADB, Relock the bootloader and run “fastboot oem asus-csc_lk”
– this will relock your bootloader3) After relocking the bootloader it will erase everything up automatically. If not, boot to recovery mode and wipe/reset. You are done!
Source
Now that you’ve successfully rebranded your ROG Phone 2 from China ROM to the global ROM, installing new global updates will be as easy as downloading the zip file, placing it in the root of internal storage and restarting the phone to get a prompt to update to the new firmware.
Apparently, keeping root means you’ll have to flash Magisk after every update you install since it gets overwritten with the update. To do this, DON’T restart the phone after updating the ROM, instead, choose the ‘Later’ option.
Proceed by going to Magisk Manager, choose ‘Install’ (Magisk, not the Manager again – the app will remain after the update), and then choose ‘Install to Inactive Slot (After OTA)’ and that’s it.
As you can see, the above procedure is for tech-savvy folks who know two or so things about flashing ROMs and rooting devices. If this isn’t your cup of tea, you might as well sit out, especially if you don’t have another device to turn to in case things go south with your ROG Phone 2.
PiunikaWeb started as purely an investigative tech journalism website with main focus on ‘breaking’ or ‘exclusive’ news. In no time, our stories got picked up by the likes of Forbes, Foxnews, Gizmodo, TechCrunch, Engadget, The Verge, Macrumors, and many others. Want to know more about us? Head here.

Tags
ROG Phone 2 ROG Phone II
Hillary Keverenge
2722 Posts
Tech has been my playground for over a decade. While the Android journey began early, it truly took flight with the revolutionary Lollipop update. Since then, it's been a parade of Android devices (with a sprinkle of iOS), culminating in a mostly happy marriage with Google's smart home ecosystem. Expect insightful articles and explorations of the ever-evolving world of Android and Google products coupled with occasional rants on the Nest smart home ecosystem.
Next article View Article